At 01:53 PM 1/29/2006 -0500, you wrote:
Dear Norbert,
Hope you're ready to sit back and see a long journey of pictures and
details about the building of our brick-oven.:

You certainly remember this moment, in Binghamton. The master being
watched closely by a new pupil.
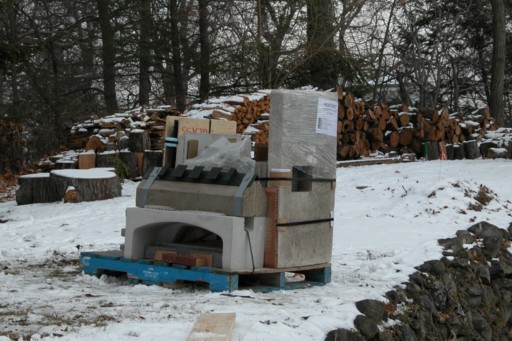
The very first picture of the project. It took a good time to take it
out from the truck. Observer that we do not miss hardwood in our backyard
for the next few years and still the trees do not stop to fall...
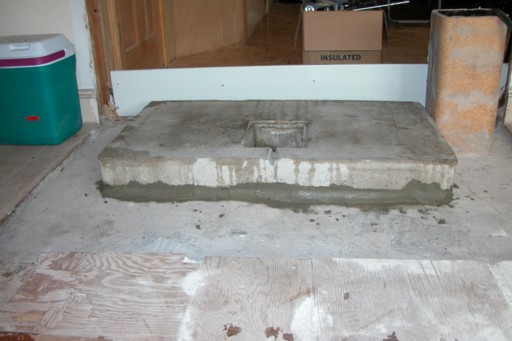
The bottom end being set. Here the first mistake: the metal lath supplied
(because I didn't read the instructions on the finishing at this stage)
I used underneath the bottom. It was good to close the ash hole from
the original fireplace but the wrong spot. Her I suggest that you could
make a attached packing list explaining every item in which phase it
will be used.
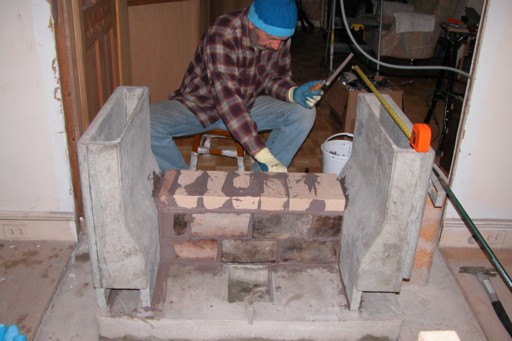
By the connecting channel I recycled old 1/2 firebricks from the old
fire-place due to the fact that they were the exact size avoiding cuts.
I suspected a LOT of cuts would still be on my way for the next weeks...
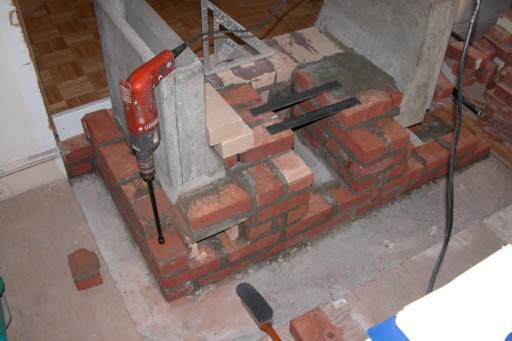
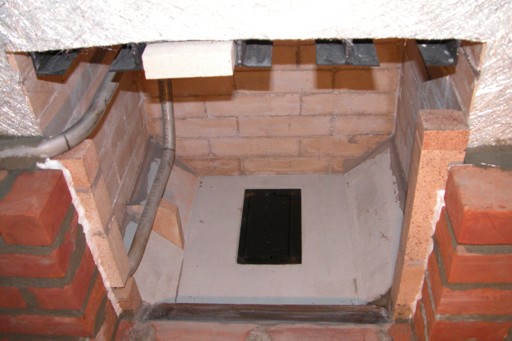
Platform ready to receive firebox's floor; please observe the detail
of drilling holes to receive the water lines for the heating coil.
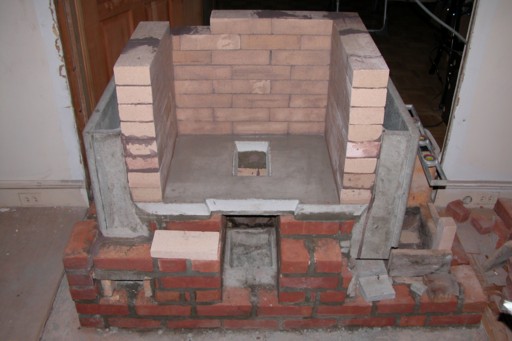
Firebox in mode B; note the rehearsal for the flute connection on right.
Also the liner and the firebox's base is incorporated into one block
with a final opening of approx 8x8'.
The fourth wall of supporting the flute is done by a aluminum edge;
the inside side has the flute's contour. The two screws you see go into
a steel plate (about the same size) with threat, acting as a big washer
and nut at the same time. The 8x8" flute on right is the oil fired
boiler's.

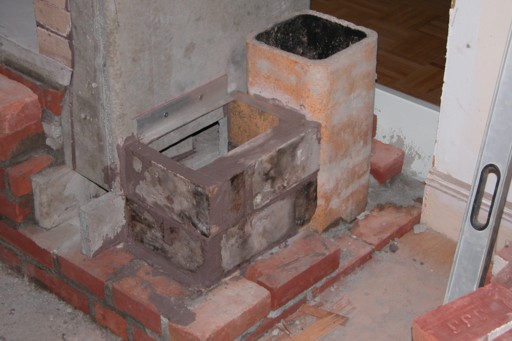
After two weeks of burning wood with no observations to make about the
functionality of the stove, I'm convinced that the bypass hole between
the channel and the flute was a key detail to "teach" the
smoke where to go to.
Here is the 1 3/4" hole in the side middle channel to be tuned
with the one in the flute.
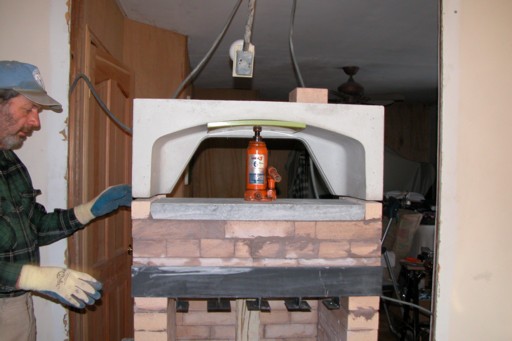
Because I worked basically alone, I had to come up with a solution to
bring this cast oven to its place and then fine tune its position on
to. Observe in the firebox chamber a 4x4 wood (which is on top of another
jack) to secure that the oven's floor would not crack with the increment
of weight in the center. Observe that the oven is not touching the two
supplied brick halfs. This way allowed to go very smooth down to its
final address.
Core is ready to be wrapped by fiber-glass so project can go ahead.

Small detail for the air inlet ramps (left over from your Pict # 25)
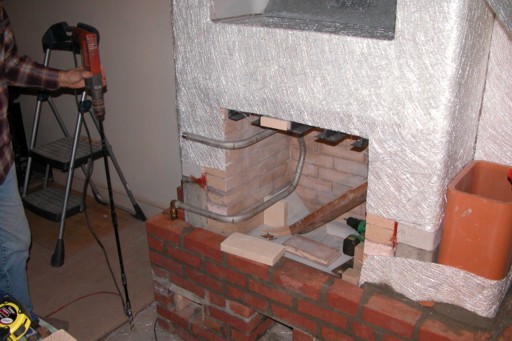
Start to see how the uneven bent heat coil could best fit. On left,
the total length of the drill to go trough all bricks and basement slab.
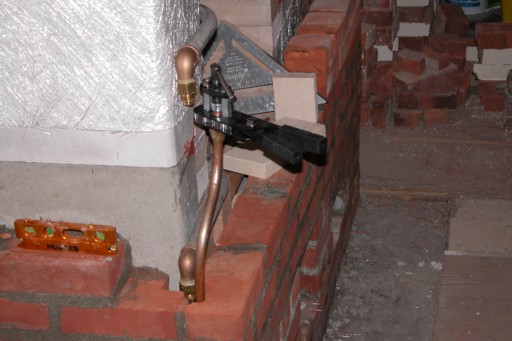
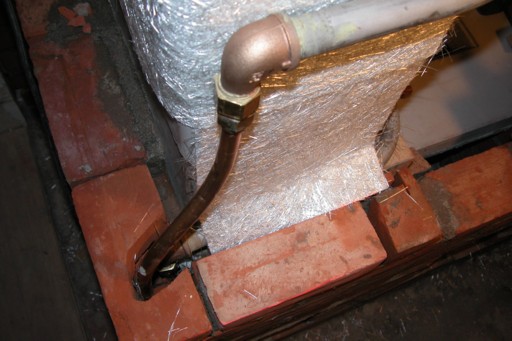
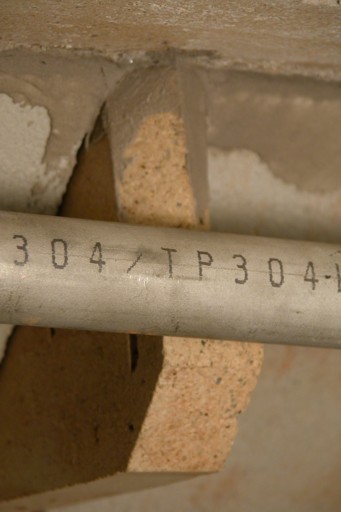
Making the flange for the connecting flexible copper pipe. Next step
would be hooking up the connection on the open water loop and check
for leaks. With that OK, liner proceeded upwards...
Not much to add but you can see how the coil is not parallel to the
wall because the bending were made with different angles and it hurts
the eye but after the door is closed and the fire is on, nobody sees
it, haha.
Direct contact between mortar and copper was avoided.
Not much to add here.
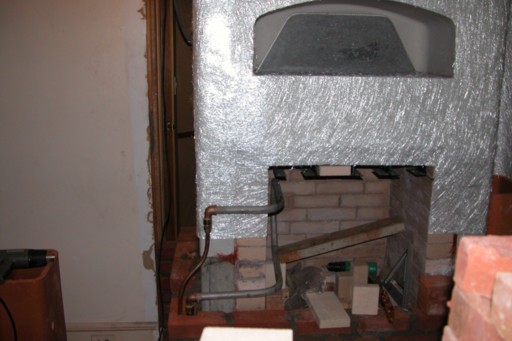
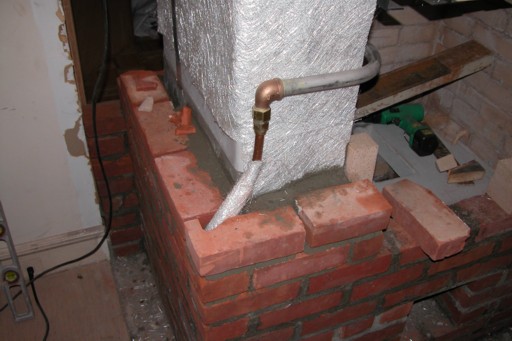
Coil exit almost covered by the liner. Observe the insulation between
chimneys.
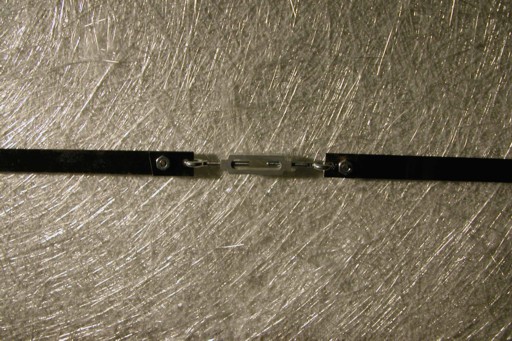
Because I couldn't find the right tool, I used this little device.
The coil's support on the left was matched on the right. Detail on the
1/2 brick supporting the coil on its half way follows:
The fire door's lintel is made by an 1 1/2 x 1 1/2" steel. The
bricks received a central cut and they could "ride" along
it. Let's move forward to the oven's arch:
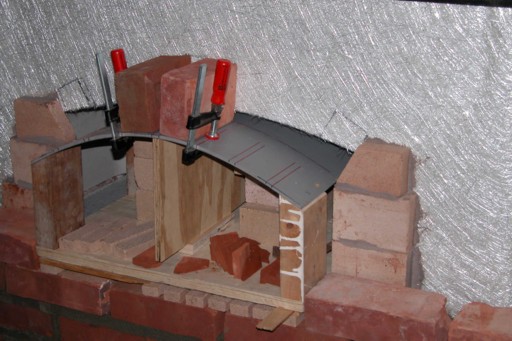
here you can see the model I made to mimic the door's contour. gap Observe
that the only thing holding this in place is composed by 6 firebricks
in the rear. On each side of the oven, I made a wall of halfs. I started
in the center cutting a shim like peace of brick to insert in between
every brick. The little peaces you see (some are under the model) are
to "fill" the gap between the red brick and the bottom of
the oven's door.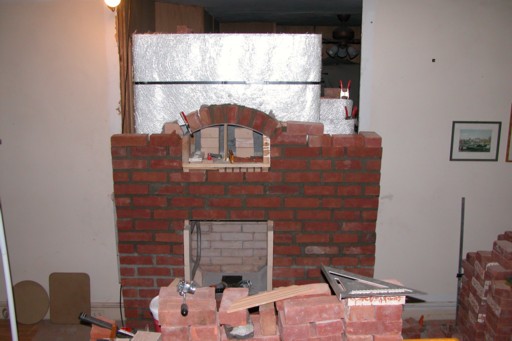
Some progress has been made the next day...
and by the next day...
Ready to start with the bricks only around the flutes.
and going up in the back as well. The original wall here, behind the
Sheetrock, was made with cinder-blocks; I knocked it down. This is the
master bedroom's side. The woody wall was one of the first projects
I did in the house, after the kitchen.
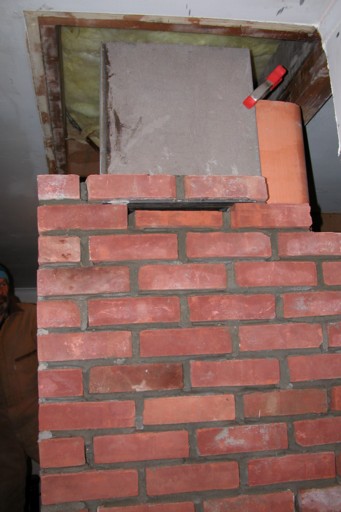
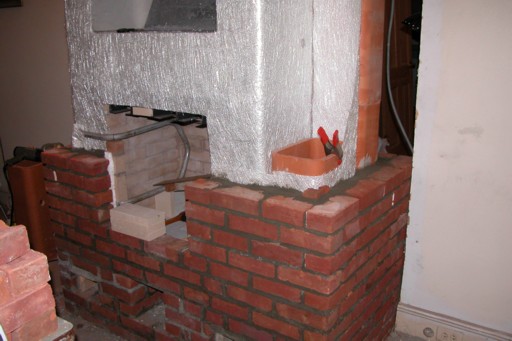
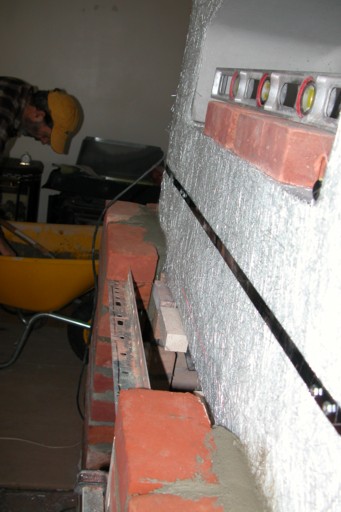
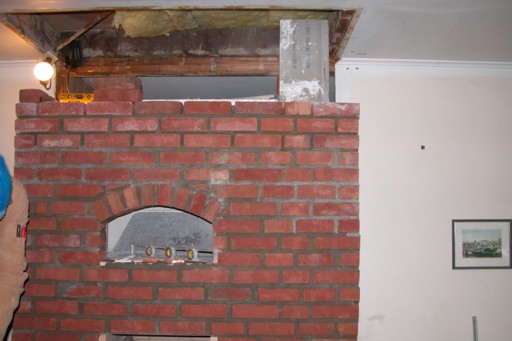
Detail of the damper's slot with steel bars on top. Until this point,
all flutes and mason were tested for leak with ultrasound. From her
to the stainless chimney was no sense no more.
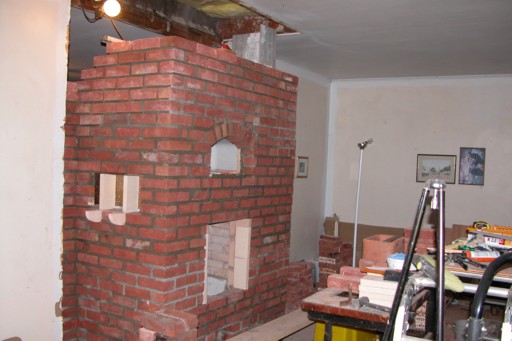
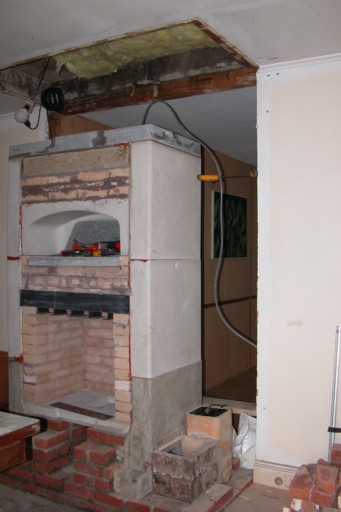
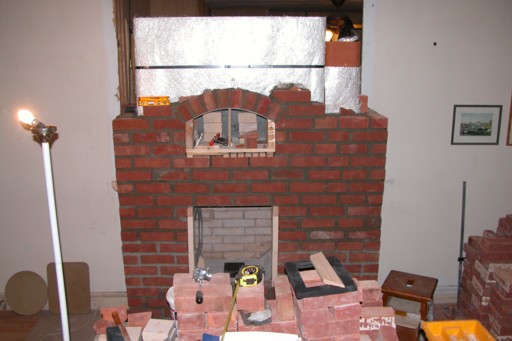
After six weeks, Christmas & New year included, almost done... On
the left side you see a recessed area to keep my milk warm. The vertical
halfs are just as a support; they were later removed.
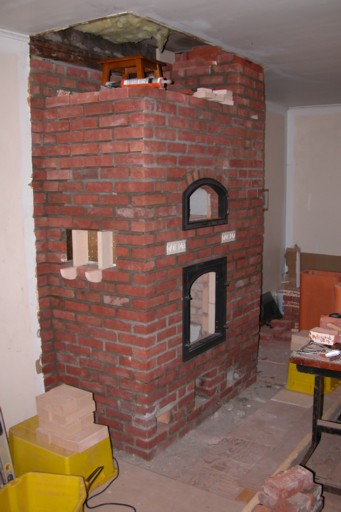
The fourth chimney wall on top was made with an extra strong lintel
(is was recycled from the fire-place's top front mouth. The doors from
the oven and firebox were removed in order to allow me to install them
by myself. Two white Greek tiles were recessed in the bricks to justify
the Kachelofen name..
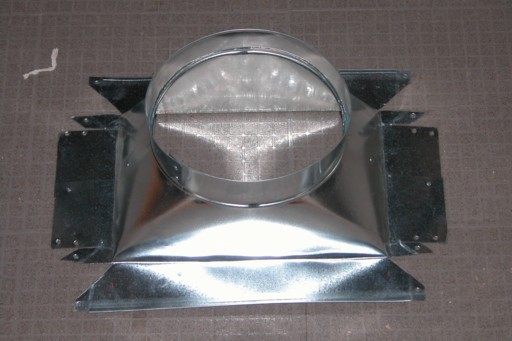
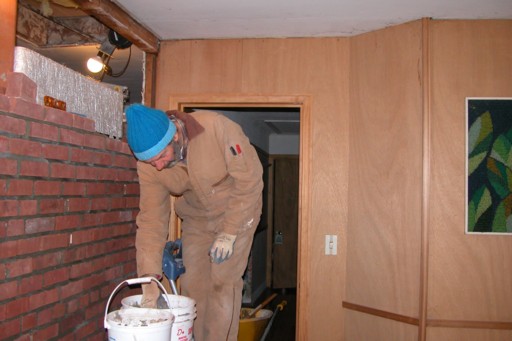
I used a air-duct adapter, corrupted to have a mouth of 8.5x13 to round
8". I figured that I would not be able to perform this contour
by free hand as your pictures showed. So I recessed it into the mortar
and bricks on the attic and on top of which came the mason adapter.
Be well & keep in touch.
Uwe
|