
| Heat-Kit | Gallery | Library | Brick Oven Page | |||||
| Current Projects | Contact | Bookstore | Links |
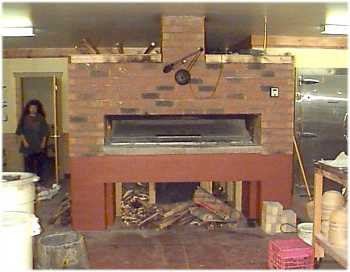
This oven was built in December 1997. It has been in
continuous use since
then, baking around 1500 lbs of bread per day (8 loads) with one
firing of 220 lbs of wood.
drawings for this oven
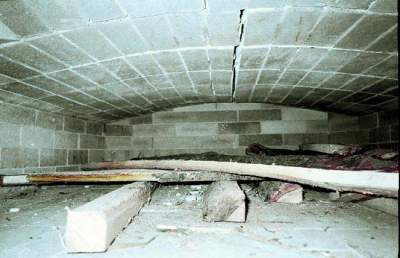
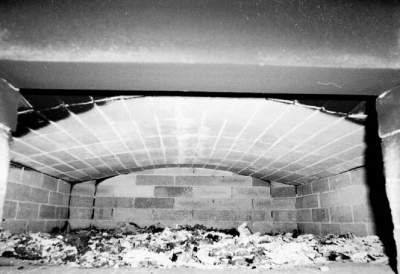
Recently, a slight drop in the oven vault was noticed.
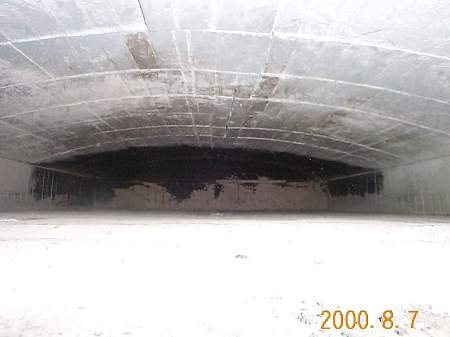
View of the left sidewall. Notice the bricks in the centre
section are kicked
in at the top about 1/4".
This was puzzling, as one would expect them to kick out from the vault thrust.
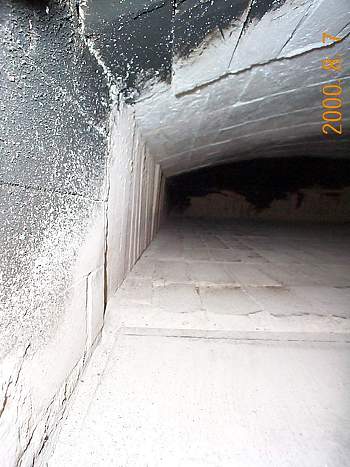
The oven hearth is still in good shape.
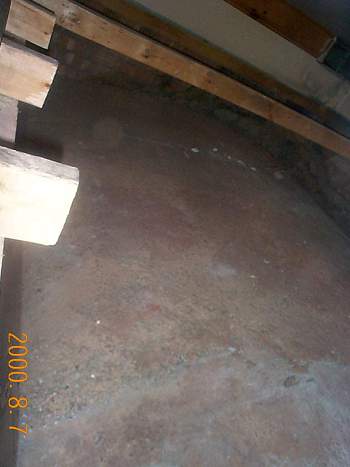
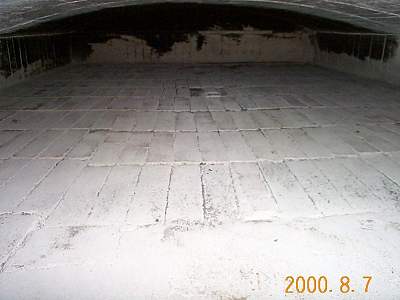
View from above.
Reinforced refractory concrete cladding wraps around the
vault and sidewalls. The cladding was in perfect shape, except
for a couple of
small thermal expansion cracks - normal in this application.
The sidewall of the cladding, however, had kicked out at the
bottom. The oven design
did not call for restraint at this location, which, in hindsight,
it should have.
This also explains why the sidewall firebricks in the photo above
where kicked towards the
inside of the oven at the top, instead of out.
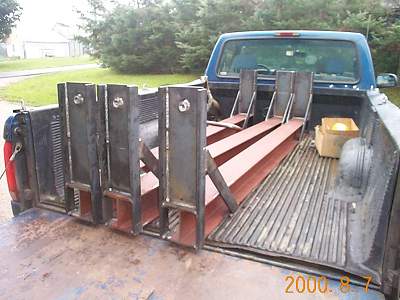
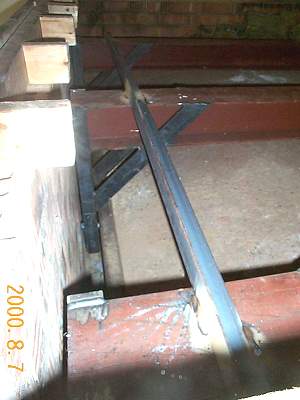
The repair consists of installing these three giant steel
clamps to counteract
the vault thrust at the skew course. A piece of 2"x6"
steel tubing will run along
the skew course on each side. Notice the nuts welded near the top
of the
(upside down) clamps. These will take bolts that will apply the
necessary
pressure to the 2x6 rails.
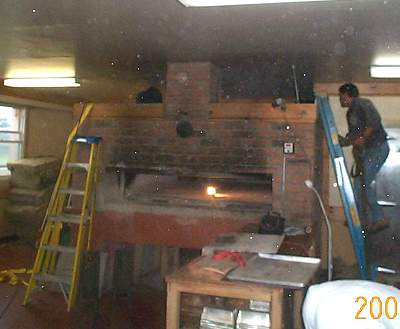
Stuart H. Bell & Sons Ltd. of Perth, Ontario, was
contracted to do the steel
fabrication and installation. Welder/fitter Ron Ferguson is on
the
stepladder.
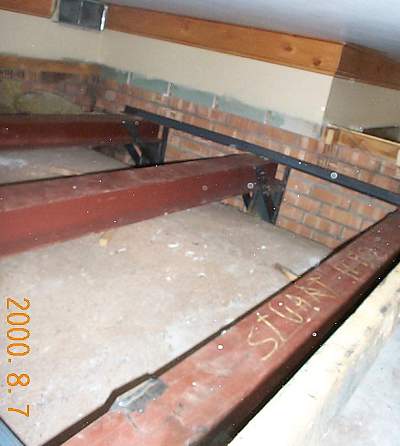
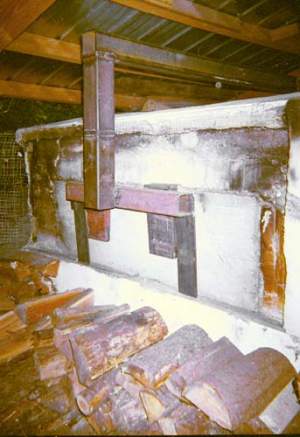
View of the installed clamps. The steel strap running along
the top was
welded on site to prevent the clamps from twisting as the nuts
are torqued.
Steel 2 x 6 tubing runs along the top edge of the vault. The
bolt is
visible on the centre clamp.
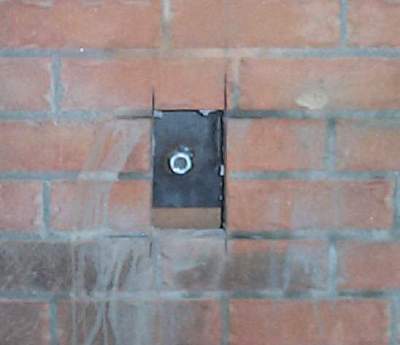
View of the welded nut before installation of the bolt.
Access holes had to be cut in the exterior brickwork to access the bolts.
This allows for periodic retorquing, if required.
We recently returned to do a hearth repair on this oven. Graham Beck, the owner,
reports that the arch repair has been a 100% success. After about a month of
use
the bolts needed to be retorqued, and haven't required anything since.
This British Columbia oven also had a falling arch. Here is the owner's description:
We discovered that the left side wall of the oven was starting
to "move
outward" about 3 months ago. About a month ago we noticed
that the top
of the interior arch was starting to "fall" and about
two weeks ago I
realized that if I did nothing to try and stabilize the arch it
would
likely get to the point of collapse. the arch had fallen almost 1
1/4"
and two rows of pointing had almost completely fallen out as a
result of
the joints opening up.
I removed the left outer skin of the oven to find that the
3" concrete
cladding wall that acts as a buttress to restrain the movement of
the arch
from gravity and the constant expansion and contraction from
heating and
cooling had rotated upon it's outer lower edge placing it about 1
1/2" out
of plumb.

We used one large 4" hollow steel section (HSS) tube with
3/16" sidewalls
to make a giant "C" clamp that was welded to a 3"
HSS horizonatl arms that
had their bottom edge level with the bedding face of the skew
course on
the side walls as this course is the one that carries the thrust
of the arch.
We then slowly pounded large site built steel wedges down on the
left side
(having left a gap for this manouver) and were able to force the
3"
concrete cladding wall back to nearly plumb. The steel
"clamp" went into
a high degree of tension bending the opposite down standing arm
which we
think serves to put mega "spring" into the clamp.
I then crawled into the oven and repointed the two rows of
missing
pointing with a rich mix of 1 part course sand to 3 1/2 parts of
high
temperature fire cement as a pointing compound.
We have had numerous regular hot burns since the repair after two
tempering burns and thankfully. everything seems to be stable.
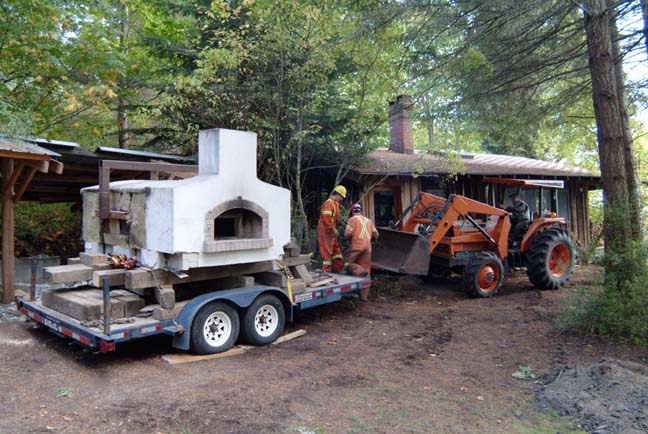
The oven has recently been moved sucessfully and set up in a new bakery.
The clamp repair has been 100% successfull. More details
| Heat-Kit | Gallery | Library | Brick Oven Page | |||||
| Current Projects | Contact | Bookstore | Links |
This page last updated on
May 26, 2007
This page created on August 7, 2000
Back to Masonry Stove Builders home page:
